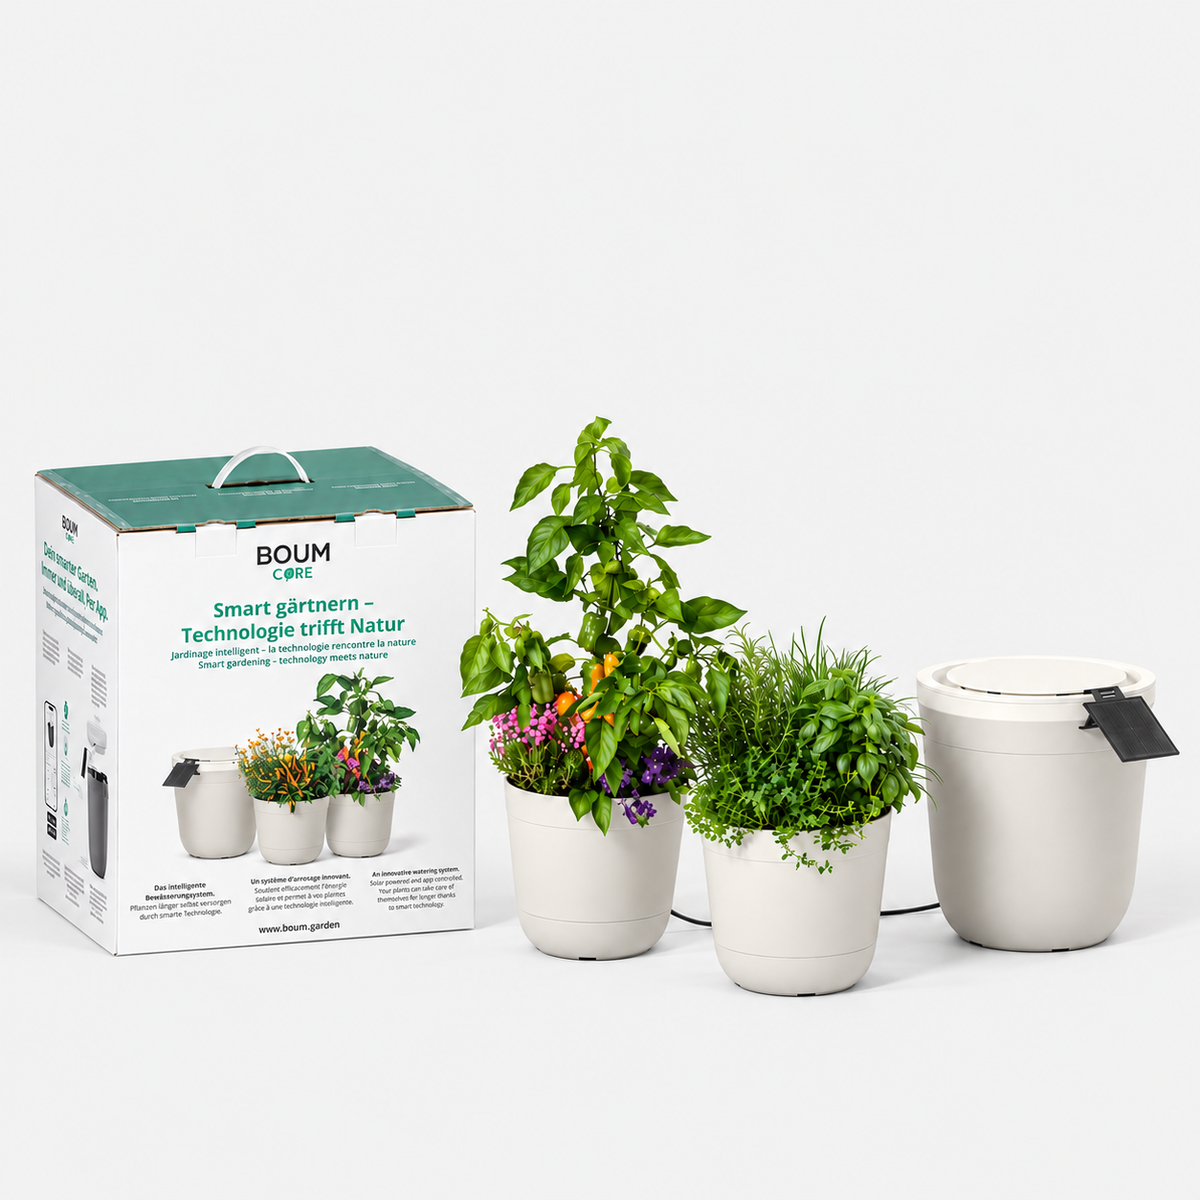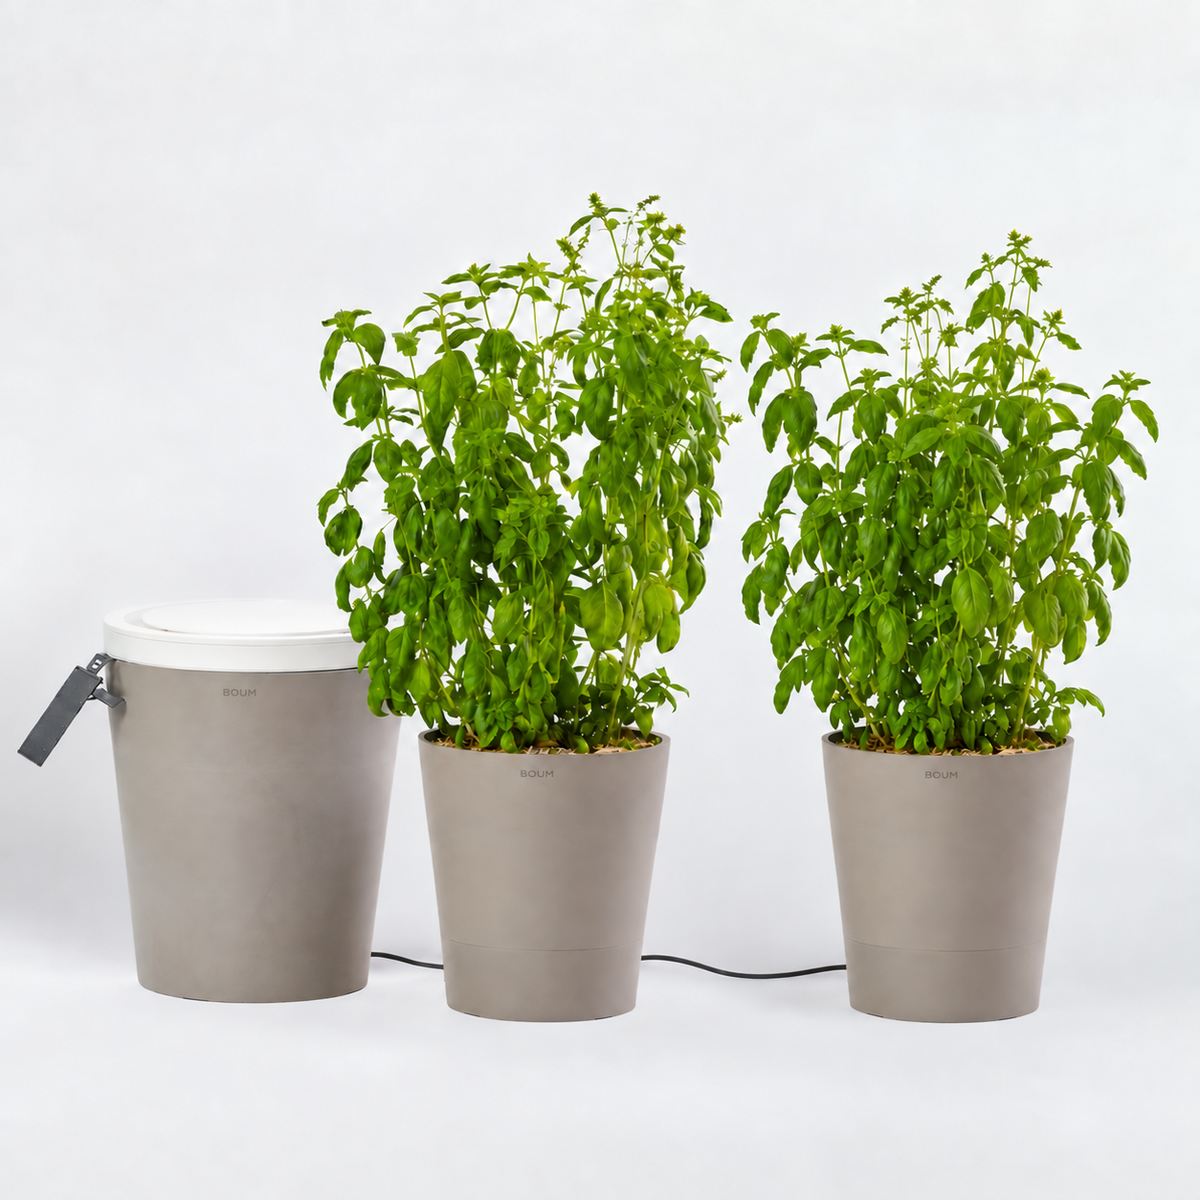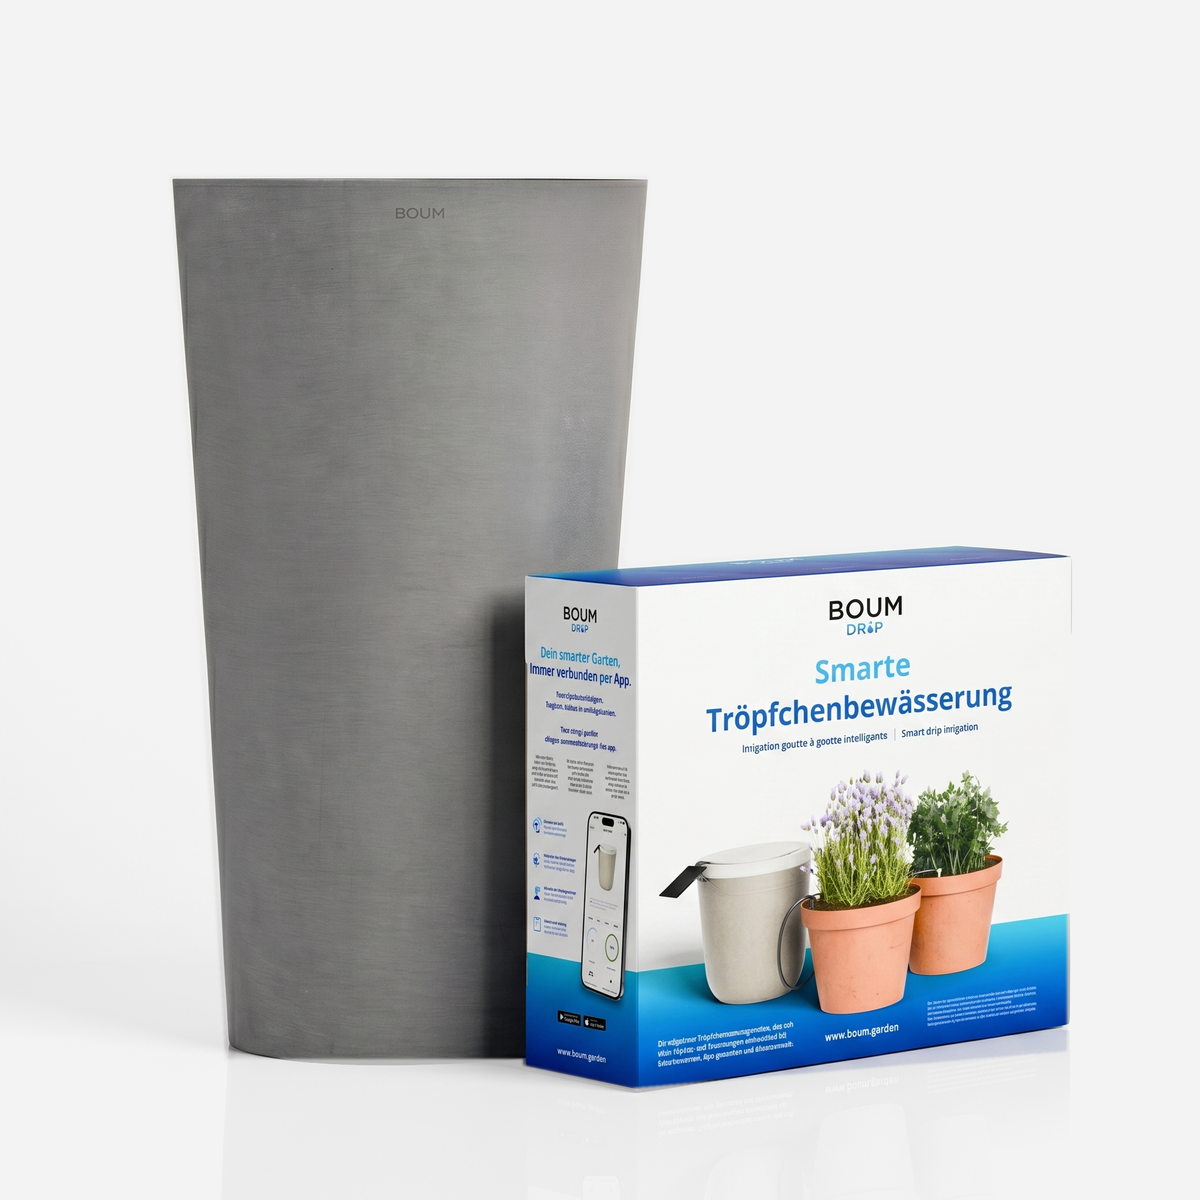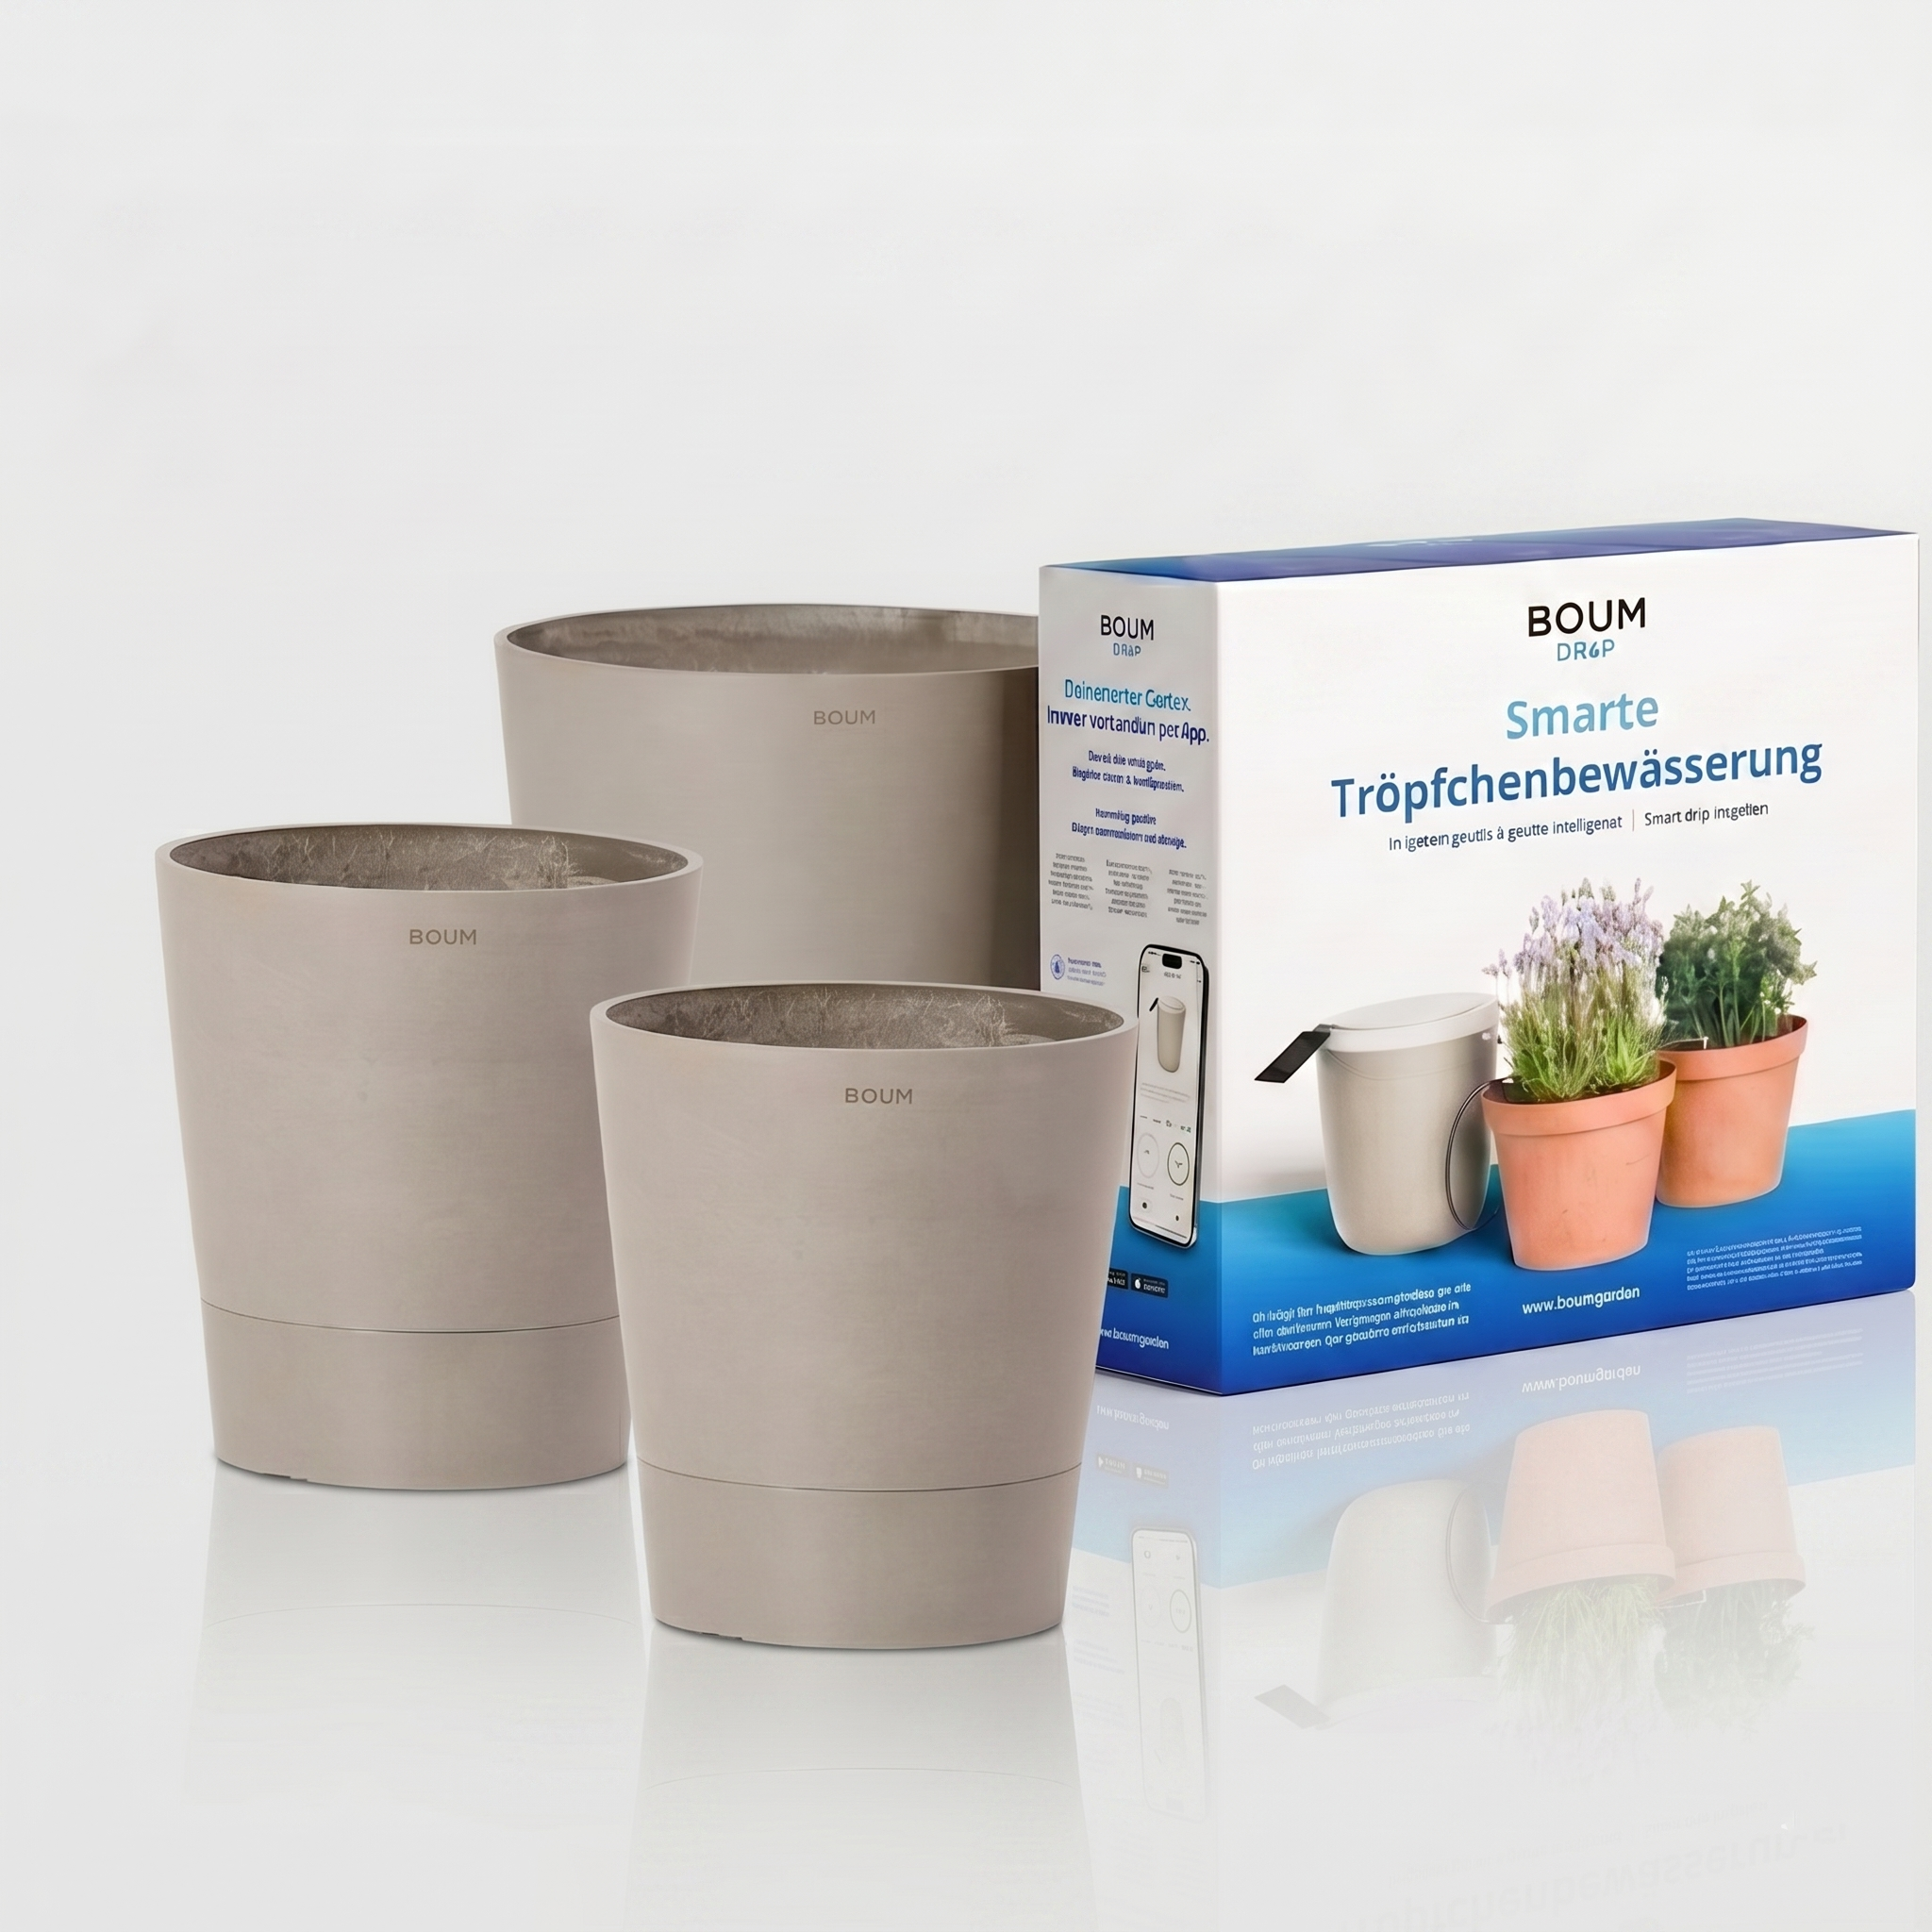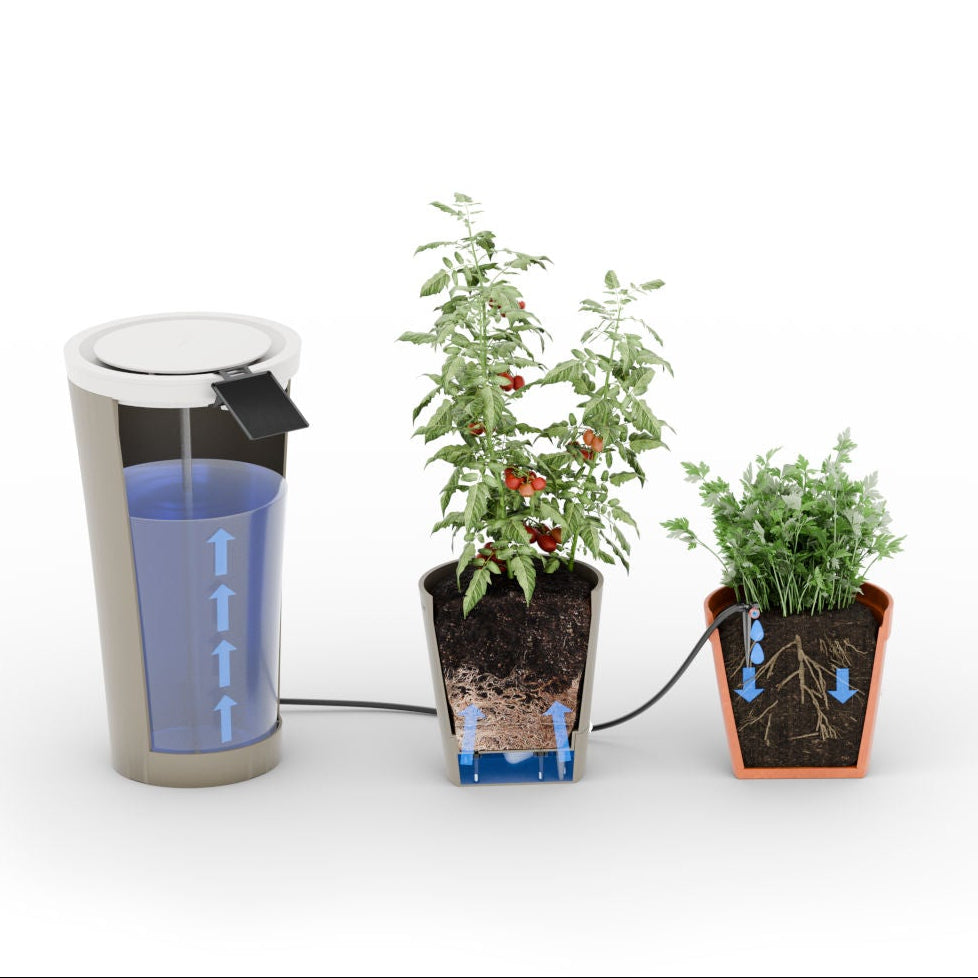

In this post, we show you how to assemble your Boum pots and get them ready to use. In the app, you’ll find a detailed step-by-step guide with videos, where you can select whether you’re using Pro, Core or Classic pots.
Overview: assembling a Boum pot
- What’s included
- Setting up the reservoir
- Setting up the soil container
- Putting the soil container and reservoir together
What’s included
Boum pots consist of the following components:
- 1x soil container (upper section)
- 1x reservoir (lower section)
- 1x hose
- 1x float valve
- 8x wicks
- 8x wick holders including nuts (except for Standard pots)
- 1x connector
- 1x end plug

Setting up the reservoir
The float valve is fitted inside the reservoir to regulate the water supply. To fit it, remove the black nut and insert the float valve through the opening in the reservoir from the inside. Make sure it is positioned so that the float valve can move vertically upwards!
Now secure the nut from the outside and push the connector onto the float valve using the middle (!) opening.

Setting up the soil container
Now insert the wicks into the soil container. These carry water from the reservoir to the plants.
Pro and Core pots
If you have black wick holders (Pro and Core pots), remove the nuts and insert the holders into the holes in the soil container from above. Then lay the pot on its side and secure the wick holders with the nuts.
Note: Tighten the nuts until you feel slight resistance. The nuts do not need to be tightened too firmly.
Now insert the white wicks into the wick holders from below, so that they are flush at the bottom and protrude by 5mm at the top.

Standard pots
If you have Standard pots, you’ll find white wick holders that simply push into place rather than screw in. Insert them into the holes in the soil container from above, then insert the white wicks from below, so that they are flush at the bottom and protrude by 5mm at the top.

Putting the soil container and reservoir together
Once you’ve prepared both the reservoir and the soil container, you can put them together by placing the soil container onto the reservoir in the correct orientation. In this blog post, you’ll learn how to connect the pots to each other and to the controller correctly.