In this post, we'll show you how to properly connect the hose and how to easily remove it from the pot or control unit. In the app, you'll find a detailed step-by-step guide, including videos.
Overview: Connecting and removing the hose
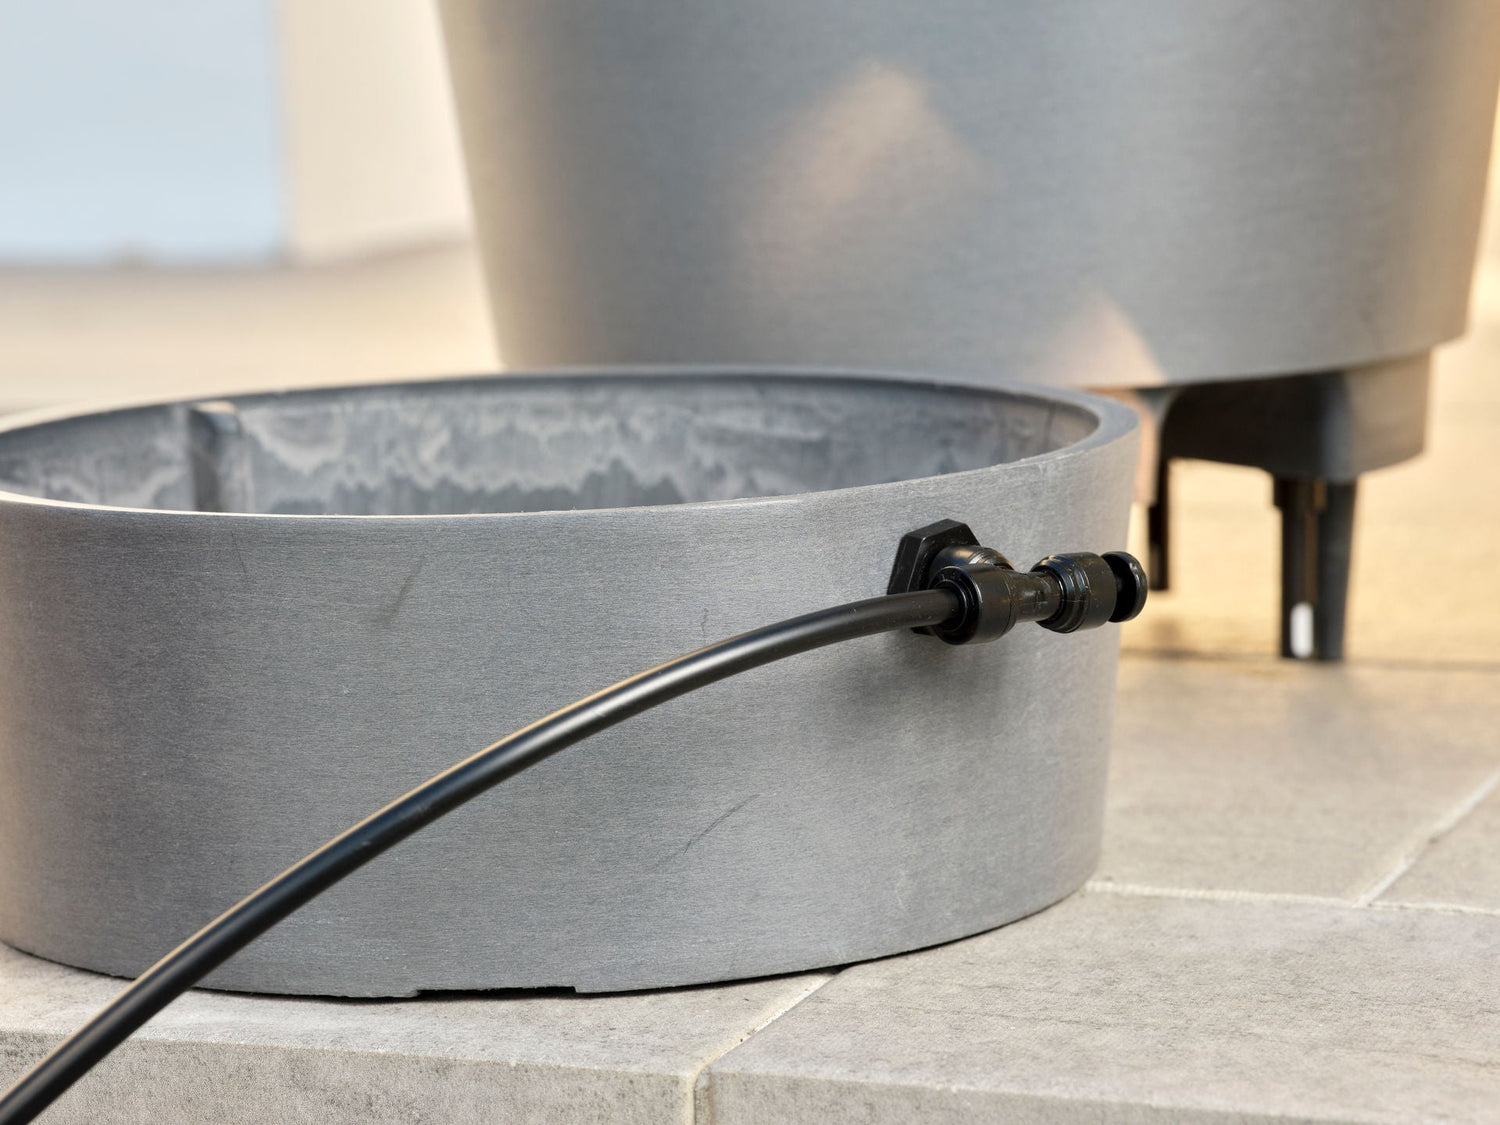
Quick-Connect Principle
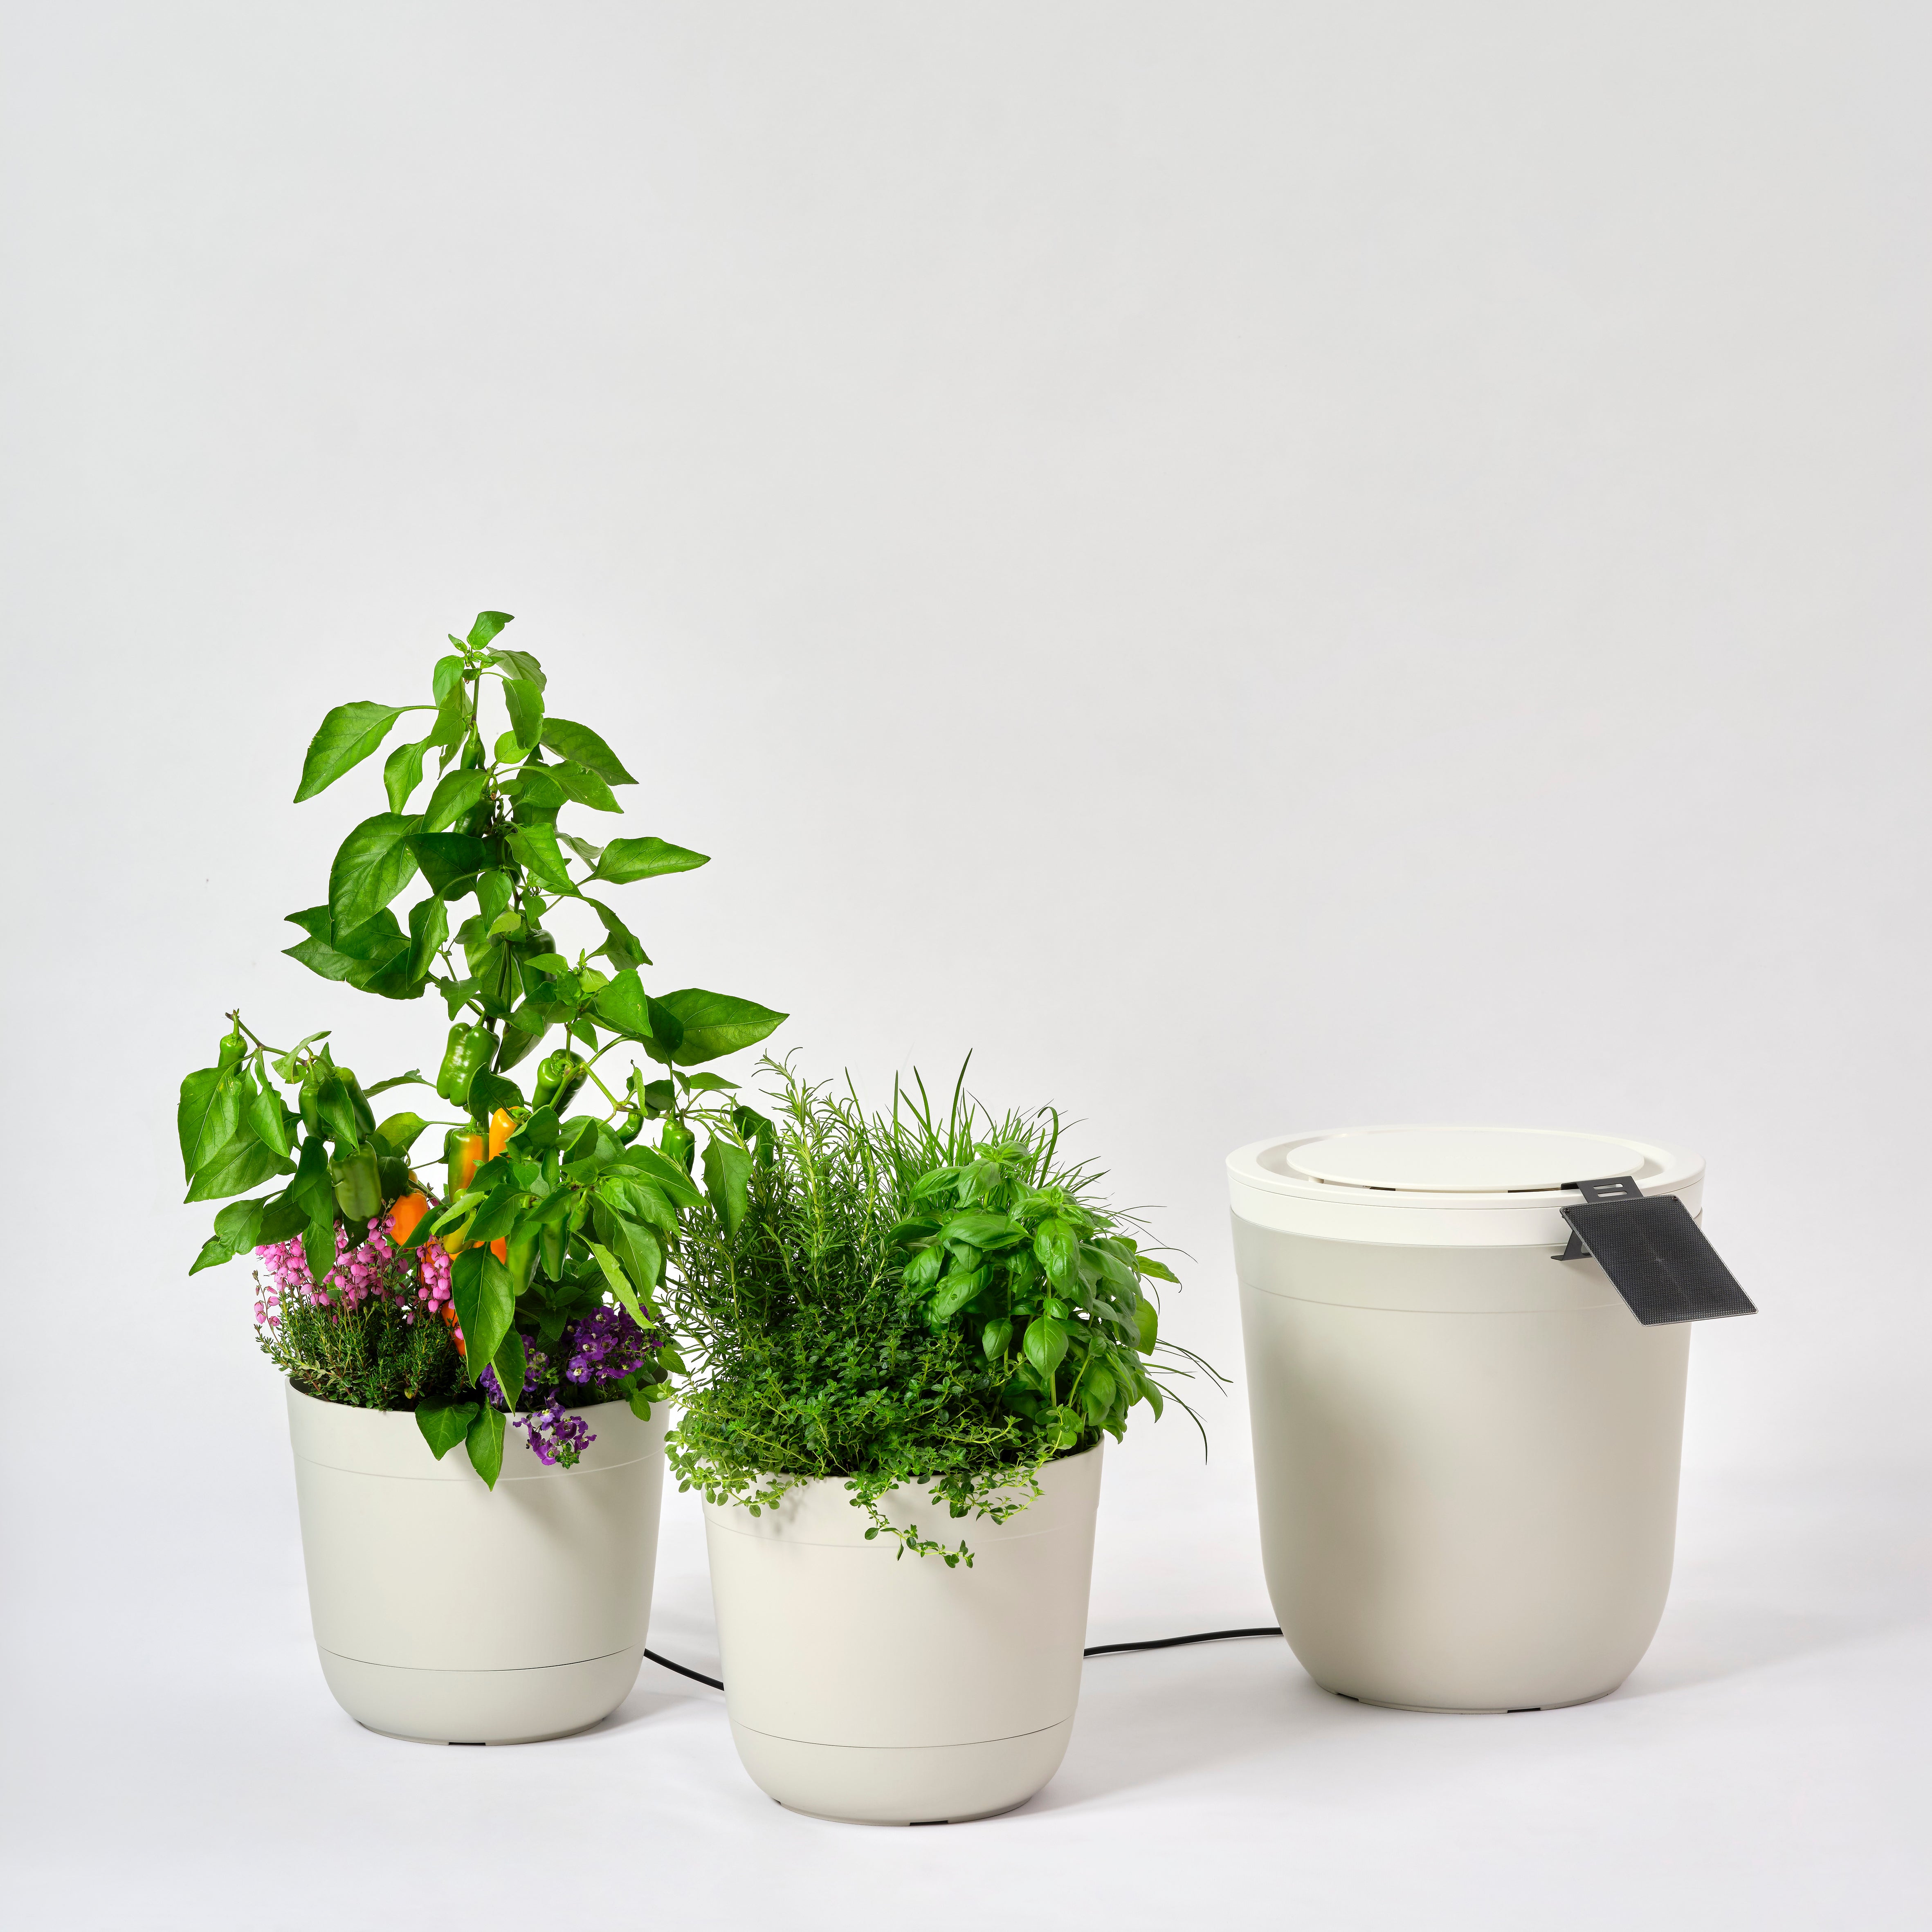
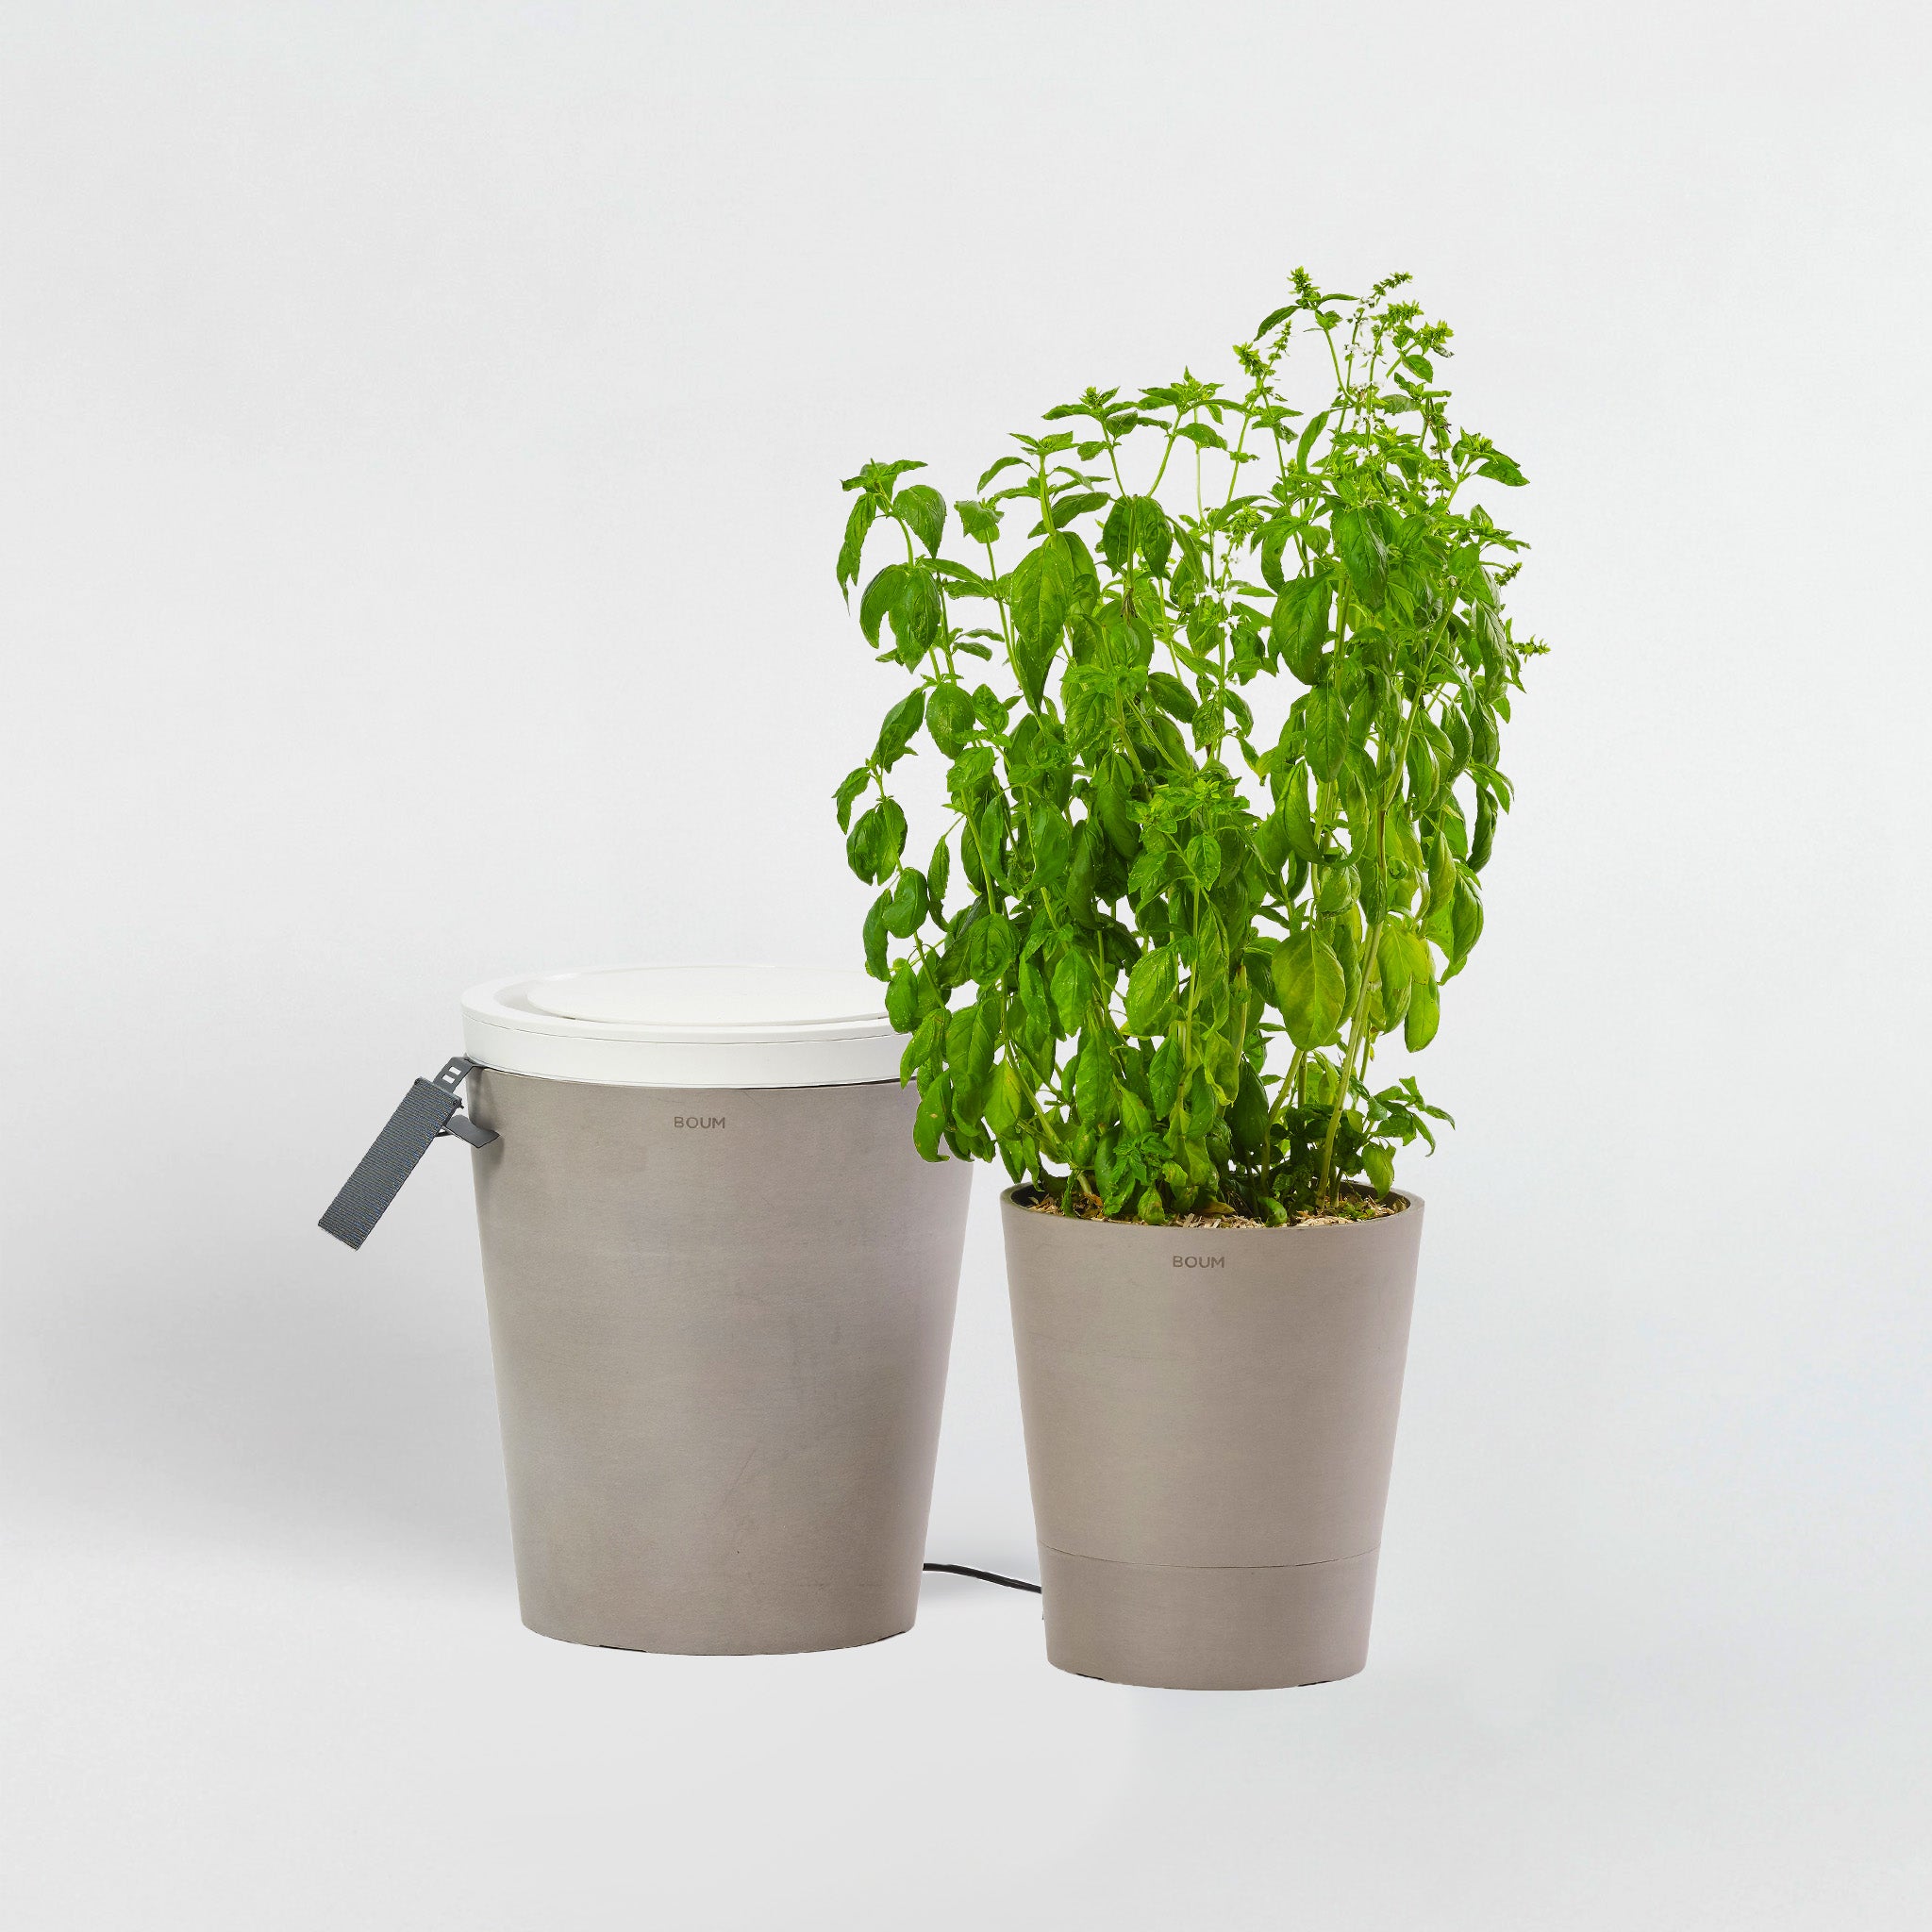
All connections in the Boum System, both on the pots and the control units, use the Quick-Connect Principle. This means all pots are compatible with all control units, and with proper application, hoses can be securely attached and easily detached.

The Quick-Connect fittings work with a hooking mechanism. The hose is inserted with some force at least 1.5cm into the fitting. Small barbs inside the connector now prevent the hose from accidentally coming loose. However, if you press against the small ring on the outside of the Quick-Connect fitting, the hook inside disengages, and the hose can be easily pulled out. The fork on the back of the Boum Tool is specifically designed to press against the ring, allowing you to pull the hose simultaneously and remove it.

Connecting the hose correctly
As described above, connecting the hose is very simple. However, you must ensure that the hose is inserted at least 15mm deep into the fitting to prevent water from leaking out. You can mark 15mm with a pen before connecting. Now, make sure the hose has a clean cut. The blade of the Boum Tool is specifically designed for this. Then, you can insert the hose into the fitting and check that the entire 15mm is inside the fitting.

Easily removing the hose
To release the hose, you can now simply press the fork of the Boum Tool against the small ring on the outside of the Quick-Connect fitting and simultaneously pull on the hose. Make sure that you do not go between the small ring and the fitting with the fork of the Boum Tool, but rather press against it from the outside.
By the way: The same principle can be used to detach the hose from the control unit, and it can also be used to remove the end pieces from the Quick-Connect fitting.


